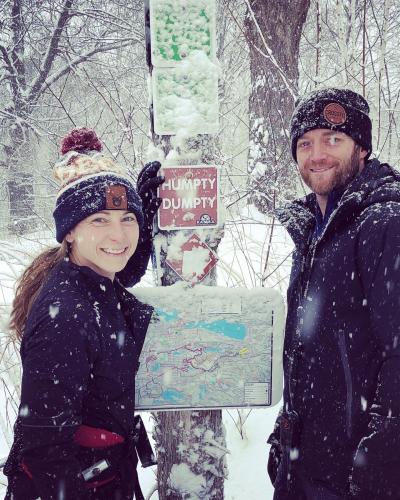
“I started fat biking four years ago. Before that, I was an avid endurance runner. I found the trails in the summer intimidating to bike, but the groomed trails in the winter were an easier introduction to trail riding. The pace is slower, not as technical, and it doesn’t usually hurt to fall. What started as a one-time “date day” with my husband on a rental bike resulted in me falling in love with biking!”
"These are the most technically challenging trails around."
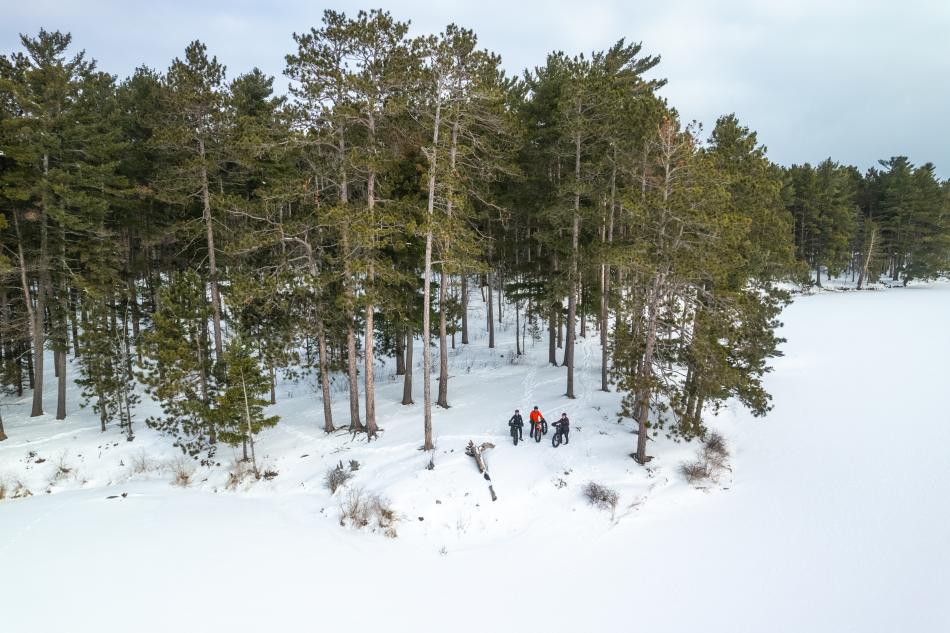
THE TRAILS
NOVICE
North trails from BLP parking lot: The Pines and Cedars are the two easiest trails. Little climbing or exposure. Three-mile out-and-back ride. Add in EZ PZ or BLP if you are okay with a little exposure.
Main North Trails loop from BLP lot (without wildcat section): Approximately seven miles, moderate climbs and descents. This trail system is groomed with the Snowdog and a more narrow groom than South Trails or RAMBA. However, this loop is the least challenging elevation-wise as far as single track goes. Some exposure on BLP rocks section when the trail gets near the river, so beginners may have to walk this part.
INTERMEDIATE
South Trails SBR or RAMBA SBT:
Variety of loops/distance. My favorite is the RAMBA trails from the HOB trailhead, especially the Malton loop section when they are able to groom it (not possible if the snow is too deep as they can’t use the snowmobile on some of these tight/twisty trails).
UP FOR A CHALLENGE
Friends of Harlow trail system: Distance and elevation vary as this is a packed trail system and dependent on snow conditions. However, these are the most technically challenging trails around.
Hill Street SBT in Ishpeming: 10-12 miles, around 150’ of elevation gain per mile. Groomed with a snowmobile, so while the elevation makes it a challenge, it’s not technically challenging as the trail is groomed quite wide.
THE ESSENTIALS
-
Water and food to last your ride. Winter riding conditions vary greatly and depending on the day, I can average three mph or 10 mph on the same trail!
-
Keep water in an insulated thermos or wear a hydration pack under your coat to prevent it from freezing.
-
GPS/phone (Gaia app is great)
-
Multi-tool
-
Tire pump
-
Emergency blanket
-
Hand warmers
WHAT TO WEAR
-
Dress in layers. I wear a wool base layer shirt with a wind-breaking jacket on top. I add a vest if it’s below 20 degrees.
-
Pants that will keep you dry, but not hot
-
Thin wool socks
-
Warm, water-resistant boots
-
Hands get cold easily, so good gloves are a must. I also put pogies (handlebar mitts) on my bike once it’s below 30. When it’s really cold, toss hand warmers in them. Warm hands and feet make the experience so much better! 45NRTH makes awesome winter bike gear which is sold in most local bike shops if you want to upgrade your gear.

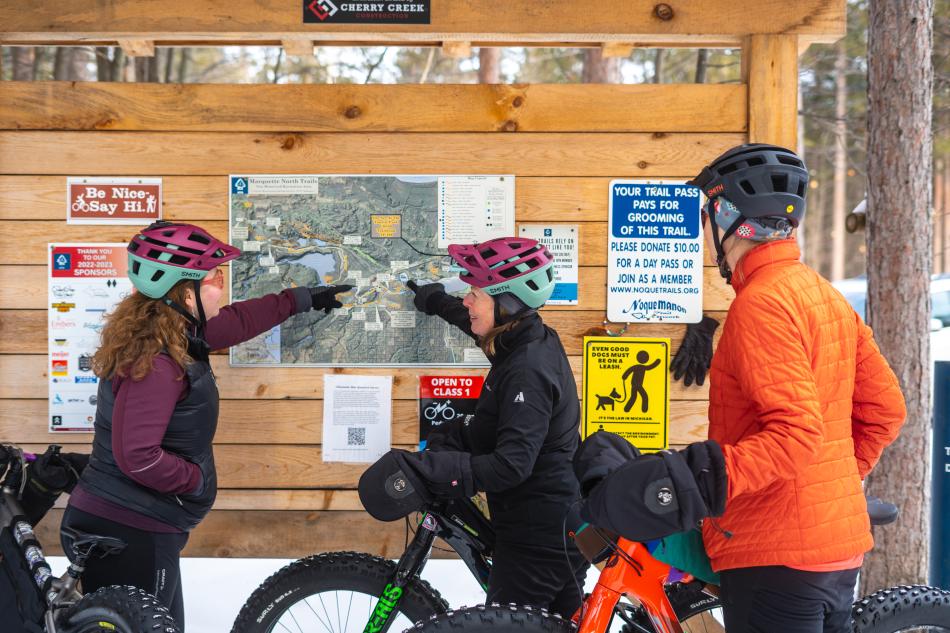
WORDS OF ADVICE
Check trail conditions before you go. Local gear rental outfitters can set you up with a bike. Think before you sink! The key to a fun and successful snow bike ride is having the proper tire pressure. If you’re sinking more than 1 inch, lower your tire pressure. Same if you are not getting traction on climbs. Normal tire pressure for groomed trails varies from 1psi to 8psi (when trails are firm). Don’t have any expectations for speed or pace. Just have fun and enjoy the adventure!
KRISTY MCBRIDE
Avid snow biker, placed 3rd in the 2022 Ore to Shore